Posts
MNT Pocket Reform Keyboard
I got my MNT Pocket Reform some weeks ago. It is a device with some unusual design decisions, which are covered by reviews and other blogs. Overall, I really like it — except for the built‑in keyboard: Its layout is flawed in ways that make touch‑typing text difficult and coding nearly impossible. Luckily, most of the issues are software-based and can be fixed by adapting the firmware.
Orthogonal Keyboard
The Pocket Reform has an 60% orthogonal keyboard. Since I build my own 40% orthogonal keyboard I was excited about the Pocket’s keyboard.
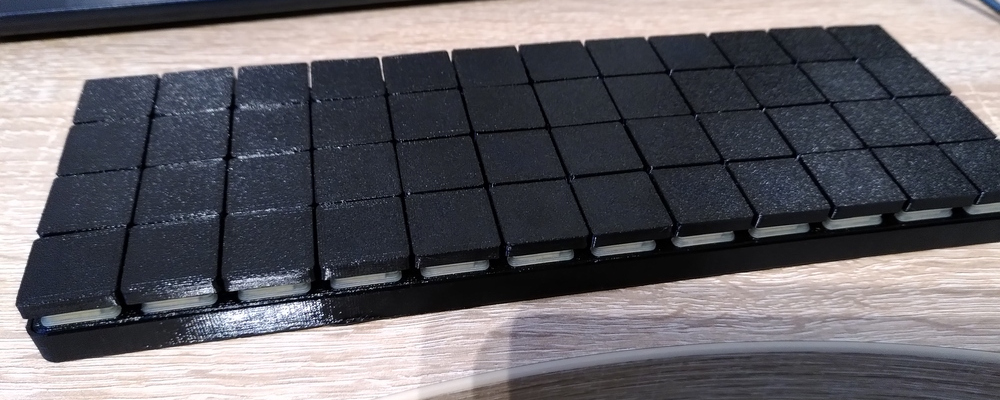
Mechanical Keyboard: derb-planck
derb-planck is a custom mechanical keyboard based on a planck keyboard whit an USB multiplexer.
It can connect up to three host devices.
In this post I will go over the idea and motivation, design/build phase and all the mistakes I did.
Idea
The work of an software developer can be differentiated in organisational work and development work. Since I’m an 100% Linux developer and never got accustomed to using virtual machines, I use two laptops: One with the default corporate software stack (MS Office, …) and one for software development. Carrying around two laptops for work has some issues. One of them is, what I call “keyboard confusion”: If one of the laptops is connected to an external display, than I often try to use the internal keyboard of the other laptop to type on the display.
Building a XSPICE codemodel outside of the Ngspice source code
The Ngspice manual (PDF) describes how to build a XSPICE Codemodel within the source code of Ngspice. In this article I describe how to compile a codemodel only using the installed Ngspice version of your favorite Linux distribution.
TL;DR
Have a look in the compile script of my XSPICE test setting. In this article I describe what my test setting is doing.
Prerequisites
To compile a XSPICE codemodel you need a C compiler and Ngspice.
DIY PCB: Vom Design zum fertig bestückten STM32F07-Breakout-Board.
Ich habe meine erste Platine entworfen, produzieren lassen, bestückt und programmiert. Dieser Artikel fasst meine Erfahrungen zusammen.
Motivation und Mikrocontroller
Ich sitzt viel vor dem Rechner. Um davon etwas weg zu kommen, habe ich gedacht ich beschäftige mich mit der Herstellung von Platinen mit dem Ziel Löten zu lernen. Leider habe ich kein vorgefertigtes Board/Set zum Löten gefunden, welches mir gefällt. Also muss ein eigenes Board entworfen werden.
Da es mir um den Herstellungsprozess geht, habe ich keine besonderen Anforderungen an einen Mikrocontroller. Nach einigem stöbern in Online-Katalogen der großen Elektronik-Händler habe ich mich für den STM32F070CBT6 (PDF) entschieden, weil er eine USB-Schnittstelle hat und relativ günstig ist. Außerdem verfügt er über einen vorinstallierten nicht überschreibbaren DFU-Bootloader. Den Bootloader fand ich wichtig, da dieser garantiert, dass ich den Mikrocontroller nicht mit Software unbrauchbar machen kann. Wie ich später gemerkt habe, war diese Sorge unbegründet, da man mittels Serial-Wire-Debug der Mikrocontroller immer programmierbar ist.
Website with Jekyll
This website is genereted using Jekyll. The Step-By-Step-How-Two is great but I missed some information which I documented here.
Preperation
Ruby
At first install Ruby. On Arch-Linux:
sudo pacman -S ruby
Jekyll
The following command will install Jekyll in your user directory (~/.gem/ruby/).
gem install --user-install jekyll bundler
You probably want to add the ruby bin folder to your search path by adding following line to your “run commands” file of choice. (~/.bashrc, ~/.zshrc, …).